


After mounting your Senopex thermal scope, take your first shot at the target and see where the bullet impact is. From that point, here’s how to zero your scope. Give a long press on the “S” button to enter the zeroing menu. Once the menu is visible, profile “A” should already be selected. Scroll down to “screen freeze” and short-press on the “S” button, which will enter the screen freeze sub-menu. Once you have your cross-hairs back on your target and are happy, press the up button, and that will freeze the screen, and a little red + will come up on your point of aim. If you’re not happy with the location of the +, you can press down and unfreeze the screen and repeat the process of pressing up to freeze the screen. Once you are happy with the red + position, a short press of the “S” button again will take you back to the zeroing menu. Scroll up to your x/y coordinates setting and short-press the “S” button again, you can then move the cross hairs to your first point of impact using the arrow keys on the keypad. Once that’s done short short-press the “S button again to back out of the x/y menu and scroll back down to the screen freeze. A short press of the “S” button again will take you into that sub-menu, and then you can unfreeze by pressing down. Finish off with a short press of the “S” button to come back out to the main zeroing menu, and then either a long press of the “S” button or scroll down to the X at the bottom of the menu to return to the main shooting screen. Your coordinates are saved wherever you left them. Continue to fire another shot at your target to confirm zero. Fine adjustments can be made from there by going back into the zeroing menu and in to to the x/y coordinates and moving up/down/left/right as desired. You don’t need to use the screen freeze function every time for small adjustments. Hope this helps anyone who’s struggling. As you can see from my demonstration video, I have simulated that my shot impacted high and right.
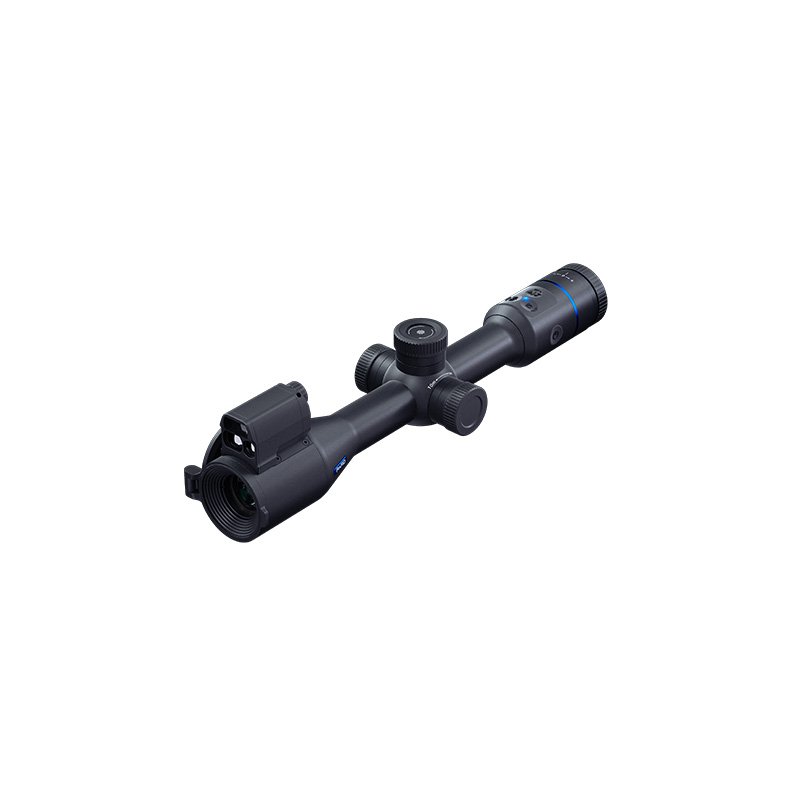
PARD Night Stalker 4K eX Night Vision Rifle Scope
Price range: £190.00 through £1,099.00 Incl.VAT


Read Comments